Vue前端用到的一些小技巧简单记录一下
v-model 双向绑定
v-model 指令可以实现表单输入元素与 Vue 实例中的数据双向绑定。
通俗来说,一个变量的值可以被用户修改,也可以被代码自带逻辑修改,并且一方修改,双方都能获取到最新值。
HTML中这样编写,v-model作数据的双向绑定
<div>用户名:<input type="text" placeholder="请输入用户名" v-model="form.username"></div><div>密码:<input type="password" placeholder="请输入密码" v-model="form.password"></div>JS里定义一个对象存储一下用户输入的内容即可。
form.username和form.password就是用户输入的内容啦
export default {name: 'app',data() {return {form: {},}},}:class实现动态样式变化
再逛淘宝网页,我们点击上方的导航栏,点击的一栏会变色。

可以通过如下方法实现这样的效果(在这里通过登录注册两个按钮的样式切换简单演示一下):
格式为:class="{classname:true/false}"
<div @click="choiceChange(index)" v-for="(item,index) in choices"> <div class="items" :class="{items_active:index==active} ">{{item}}</div></div>export default {name: 'app',data() {return {choices: ["登陆", "注册"],active: ''}},methods: {choiceChange(index) {this.active = index}, }}外层div盒子使用v-for进行循环渲染,内层div盒子类名默认为items。
添加一个鼠标点击的事件并传递参数,以此告知所点击位置对应choices数组下标,记录在active中,如果active中记录的值刚好是当前下标值,就改变class样式为items_active。
hover实现鼠标悬停样式变化
我们这里以按钮组件悬停变化为例,增强用户体验感
<button type="submit">登陆</button>css中如下配置即可,hover中为悬停后的样式变化
button {/** 重置按钮的默认样式 **/background-color: transparent;/* 或者你想要的任何颜色 */border: none;/* 移除边框 */padding: 10px 20px;/* 内边距 */color: white;/* 字体颜色 */font-size: 16px;/* 字体大小 */cursor: pointer;/* 鼠标悬停时的光标样式 *//** 添加一些视觉效果 **/background-color: #007bff;/* 背景颜色 */border-radius: 4px;/* 边框圆角 */transition: background-color 0.3s ease;/* 背景颜色过渡效果 */}button:hover {background-color: #19dfcf;/* 更深的蓝色背景 */}axios实现发送请求
安装axios库
npm install axios此处以POST请求为例发送请求
<div > <div>用户名:<input type="text" placeholder="请输入用户名" v-model="form.username"></div> <div>密码:<input type="password" placeholder="请输入密码" v-model="form.password"></div> <button type="submit" @click="handleLogin">登陆</button></div>这里仅仅提供一个格式参考,能够成功发送请求并接收后端返回结果,具体详细代码将在下一篇中进行讲解。由于项目较为简易,并未对axios进行二次封装,用最直白的方式进行实现。
handleLogin() {let that = thisaxios.post('http://127.0.0.1:5000/login', {userName: that.form.username,passWorAd: that.form.password}, {headers: {'Content-Type': 'application/x-www-form-urlencoded'}}).then(res => {console.log(res)}).catch(res => {console.log(res)})}},axios.post中第三个参数配置请求头的信息,其中'Content-Type': 'application/x-www-form-urlencoded'表明是以表单形式传参,如果是"Content-Type":"application/json"的配置,即为json格式传参,浏览器会先发送预检请求,配置复杂且会容易报错,更换请求头信息可以避免掉。
flex布局调整前端页面
之前对flex布局就一直是一知半解,属性多记得有点混乱,这次使用完更熟悉了一点。
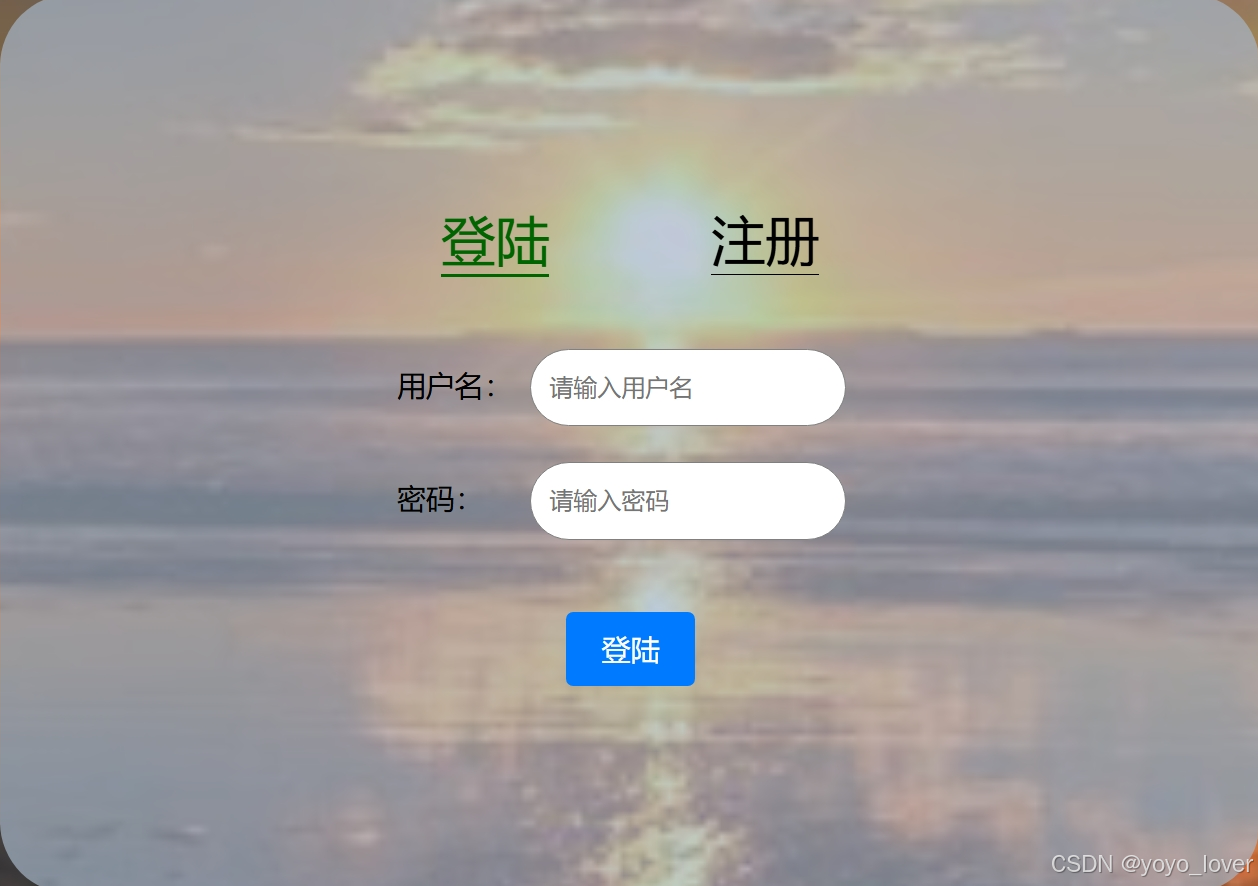
这是实现的效果图

HTML
<div class="main"><div class="head"><div @click="choiceChange(index)" v-for="(item,index) in choices"> <div class="items" :class="{items_active:index==active} ">{{item}}</div></div> </div> <div class="container"> <div class="flex-item">用户名:<input class="login" type="text" placeholder="请输入用户名" v-model="form.username"></div> <div class="flex-item">密码:<input class="_login" type="password" placeholder="请输入密码"v-model="form.password"></div> </div> <button type="submit" @click="handleLogin">登陆</button></div>CSS
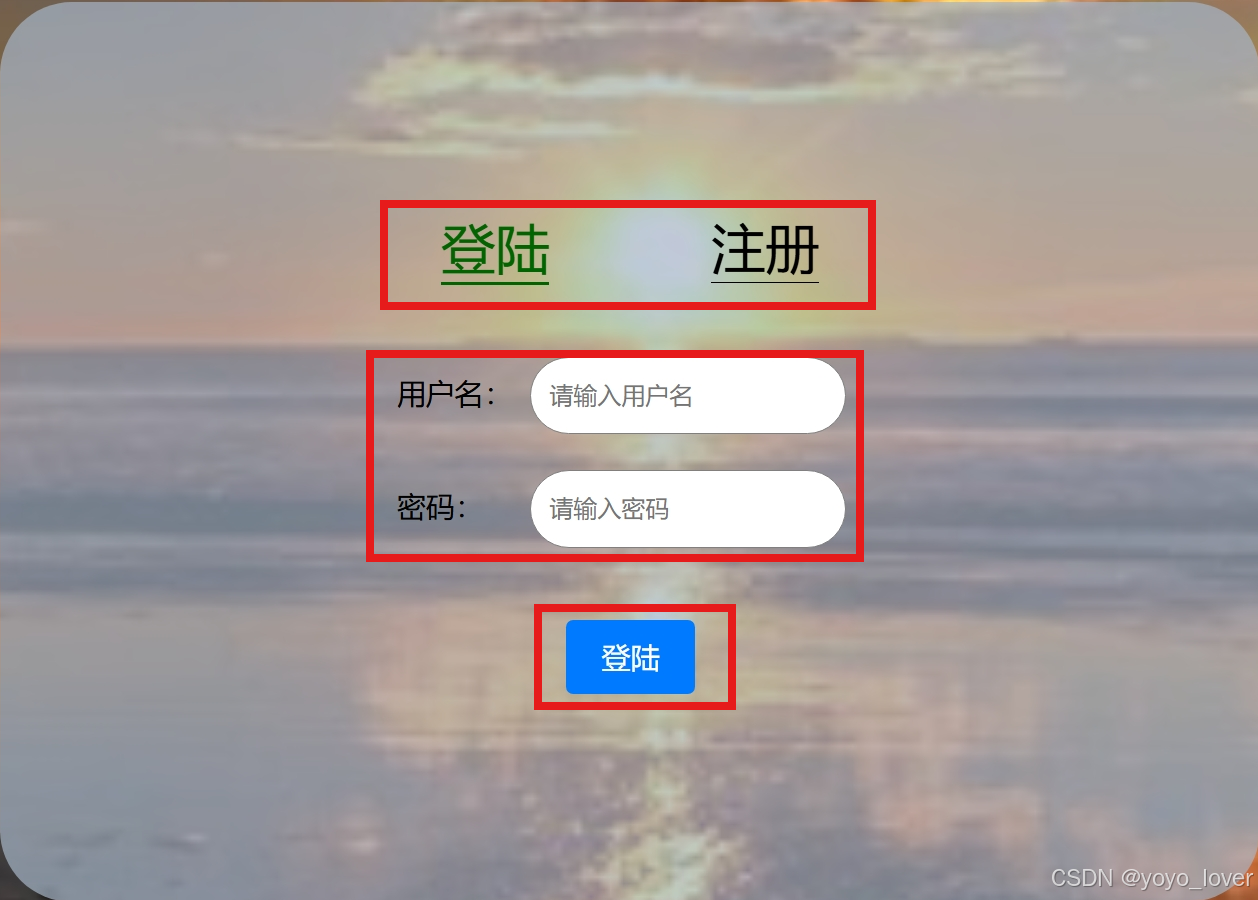
.main {display: flex;flex-direction: column;justify-content: center;align-items: center;}.head {display: flex;justify-content: space-around;}外层flex布局
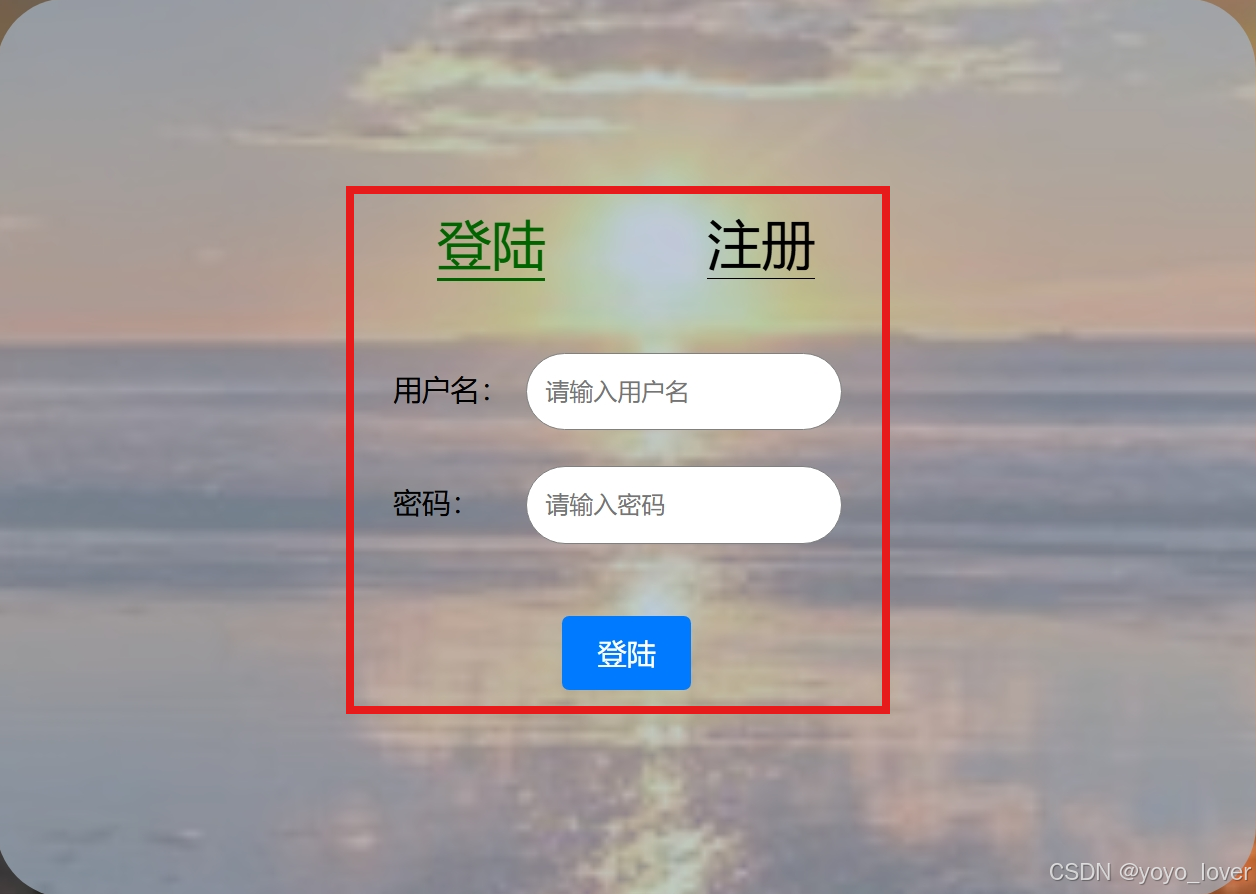
最外层是一个class为main的div盒子,我们想要让其内部元素进行flex布局,所以先给其本身添加一个display:flex的属性值。

我们想要达到这种每行为一个子元素的效果,所以我们在属性值中添加flex-direction:column的属性,主轴定为列。这里可能与我们直接思维有些许区别,为什么子元素占一行,却要主轴定为列?
仔细想想,只有列为主轴,每一行才成为子元素依次排列, 是不是就好理解一点了

我们想要实现这样的居中效果,首先需要加一个justify-content:center的属性值,意为以主轴为参照进行居中,通俗一点就是,居主轴的中
 之后我们再添加一个align-items:center的属性值,意为以副轴为参照进行居中,通俗一点就是,居副轴的中。这样我们就完成了我们的外层flex布局
内层flex布局
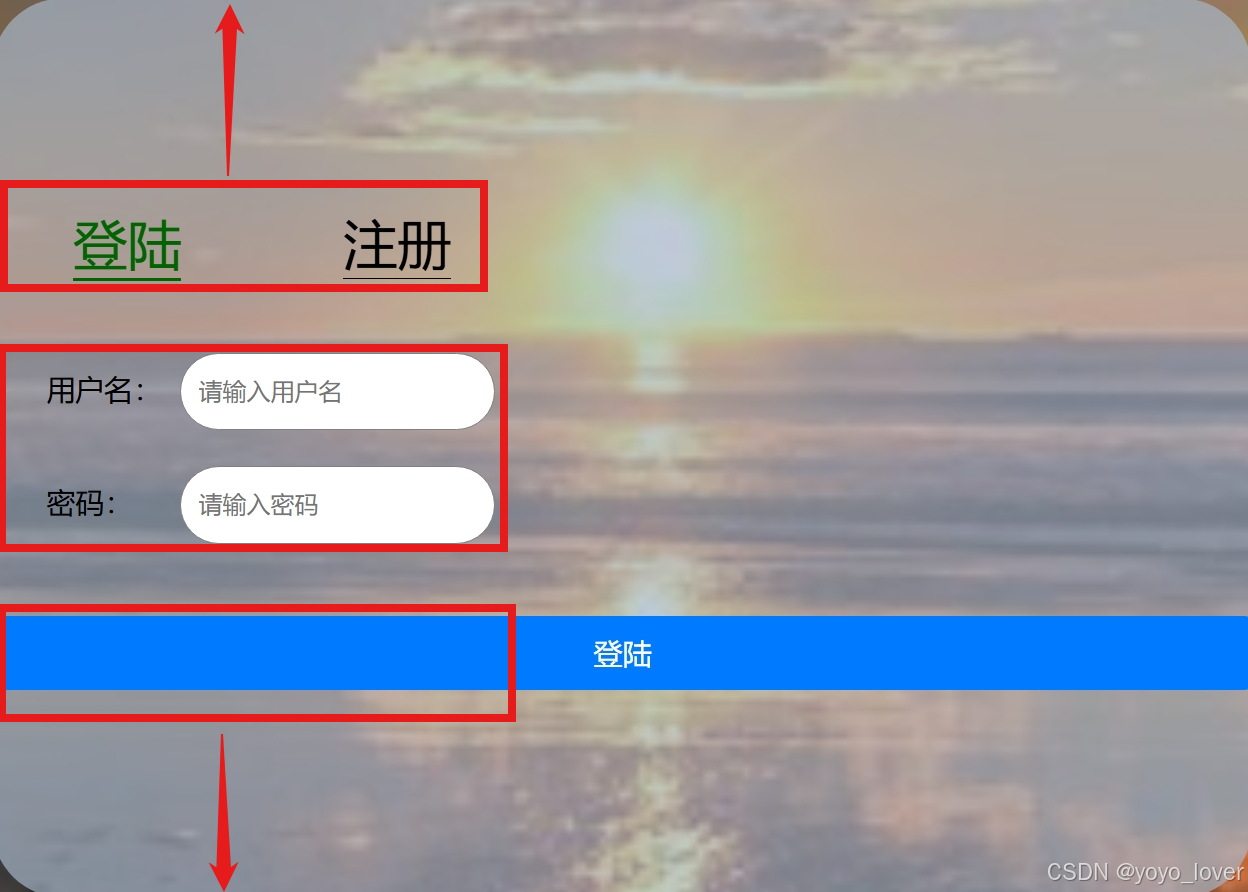
<div class="head"><div @click="choiceChange(index)" v-for="(item,index) in choices"> <div class="items" :class="{items_active:index==active} ">{{item}}</div></div></div>.head {display: flex;justify-content: space-around;}怎样将这两个div盒子在一行中显示?还是flex布局!

添加display:flex后,我们再加一个justify-content:space-around的属性,可以让每个元素左右两侧都添加相同的空间

如果改成justify-content:space-between,两侧的div盒子会贴边,剩下空间进行平分,在这里显然space-around更加美观啦
前端的部分就说这么多,一些细节和功能优化就放在下一篇与后端一起实现吧