前后端项目部署原始[Nginx+SpringBoot]
一、前端部署安装Nginx下载源代码安装包并解压进入nginx目录并设置系统配置参数编译安装加环境变量查看nginx运行状态修改nginx配置文件 上传前端项目解压 修改nginx配置公网访问 二、后端部署安装Java安装Maven上传后端项目Maven打包运行jar包 部署完成
一、前端部署
使用Xshell远程连接服务器
安装Nginx
使用源代码编译安装nginx
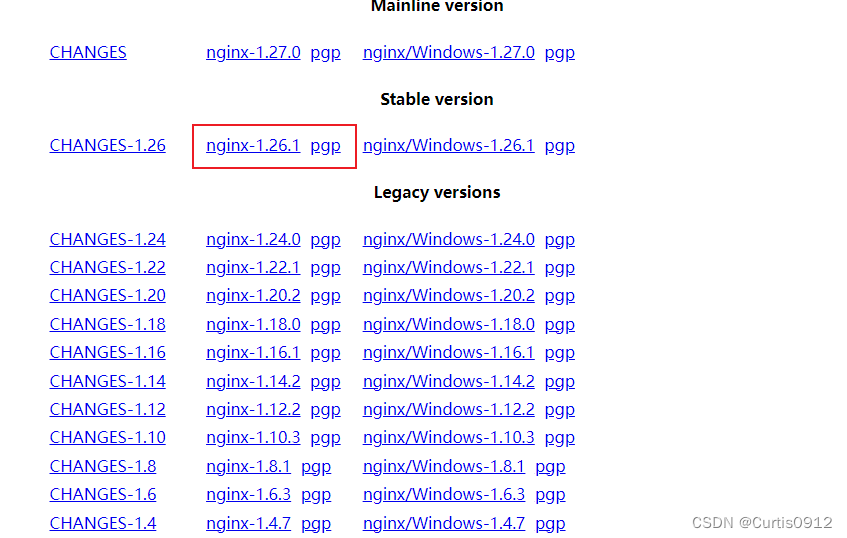
到nginx官网找稳定版本,复制链接地址
下载源代码安装包并解压
#创建目录services用来存放[root@VM-24-5-centos ~]# mkdir services[root@VM-24-5-centos ~]# cd services/#下载[root@VM-24-5-centos services]# curl -o nginx-1.26.1.tar.gz https://nginx.org/download/nginx-1.26.1.tar.gz
#解压[root@VM-24-5-centos services]# tar -zxvf nginx-1.26.1.tar.gz 
进入nginx目录并设置系统配置参数
[root@VM-24-5-centos services]# cd nginx-1.26.1/[root@VM-24-5-centos nginx-1.26.1]# ./configure
#安装相关依赖[root@VM-24-5-centos nginx-1.26.1]# yum install pcre pcre-devel -y[root@VM-24-5-centos nginx-1.26.1]# yum install openssl openssl-devel -y#设置系统配置参数[root@VM-24-5-centos nginx-1.26.1]# ./configure --with-http_ssl_module --with-http_v2_module --with-stream
编译安装
#开始编译[root@VM-24-5-centos nginx-1.26.1]# make#安装[root@VM-24-5-centos nginx-1.26.1]# make install加环境变量
[root@VM-24-5-centos nginx-1.26.1]# vim /etc/profile#shift+g 跳到最后一行加入export PATH=$PATH:/usr/local/nginx/sbin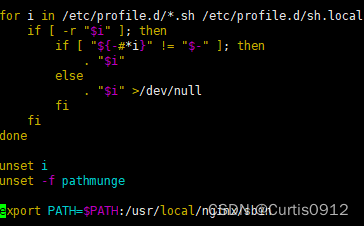
#使文件生效[root@VM-24-5-centos nginx-1.26.1]# source /etc/profile查看nginx运行状态
[root@VM-24-5-centos nginx-1.26.1]# nginx[root@VM-24-5-centos nginx-1.26.1]# netstat -ntlp
修改nginx配置文件
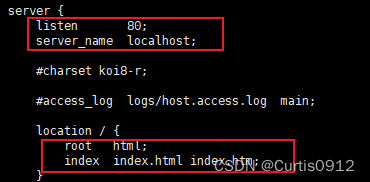
#进入conf配置文件lscd conf#复制一份配置文件当备份cp nginx.conf nginx.default.conf#查看配置文件cat nginx.conf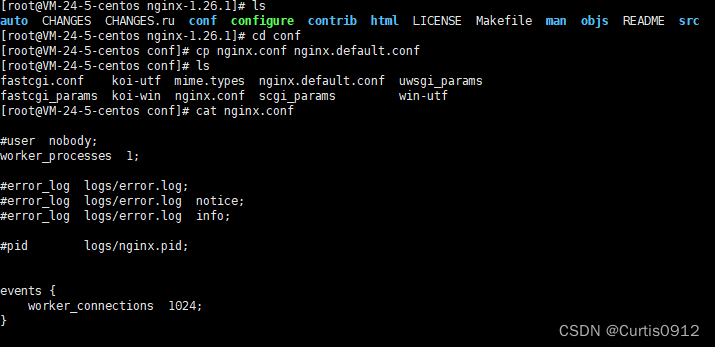
80表示nginx访问的端口,root表示根目录对应的html文件,index表示默认主页的名称
上传前端项目
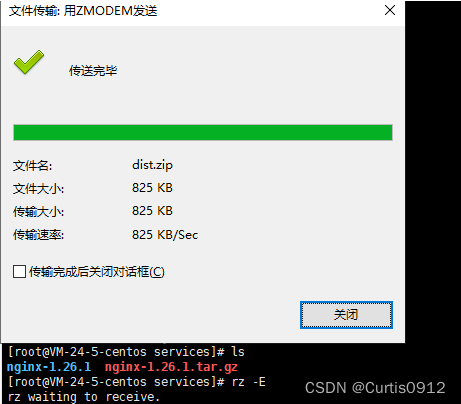
将前端打包好的文件压缩上传,直接拖进黑框

解压
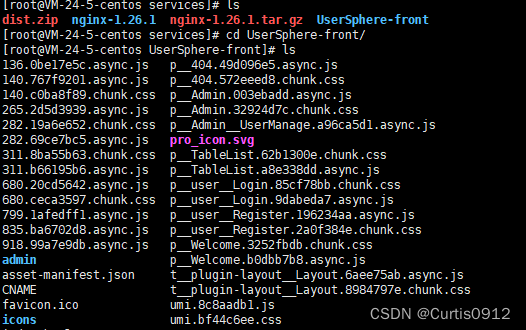
[root@VM-24-5-centos services]# unzip dist.zip -d UserSphere-front
查看解压结果
修改nginx配置
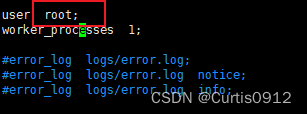
[root@VM-24-5-centos UserSphere-front]# cd /usr/local/nginx[root@VM-24-5-centos nginx]# cd conf[root@VM-24-5-centos conf]# vim nginx.conf修改成与启动用户一致
修改访问页面地址

重新加载配置
[root@VM-24-5-centos conf]# nginx -s reload公网访问
访问成功

二、后端部署
安装Java
[root@VM-24-5-centos local]# yum install -y java-1.8.0-openjdk*#yum安装不需要再配置环境变量
检查是否安装成功
[root@VM-24-5-centos services]# java -version
安装Maven
下载
[root@VM-24-5-centos services]# curl -o apache-maven-3.9.8-bin.tar.gz https://dlcdn.apache.org/maven/maven-3/3.9.8/binaries/apache-maven-3.9.8-bin.tar.gz
解压
[root@VM-24-5-centos services]# tar -zxvf apache-maven-3.9.8-bin.tar.gz 
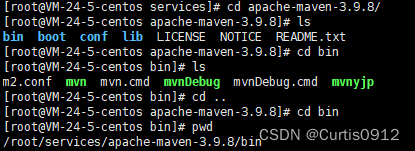
配置环境变量
[root@VM-24-5-centos bin]# vim etc/profile#在最后一行加上路径#更新配置[root@VM-24-5-centos bin]# source /etc/profile
检查环境变量是否生效
[root@VM-24-5-centos services]# mvn -v
上传后端项目
使用git远程拉取代码
#安装git[root@VM-24-5-centos services]# yum install -y git#拉取代码[root@VM-24-5-centos services]# git clone https://github.com/xxxxxxxxx/UserSphere-backend.git
Maven打包
#使用maven打包 并跳过测试,可以直接本地编译然后拖进去会快一些[root@VM-24-5-centos services]# mvn package -DskipTests编译出来一个jar包

运行jar包
#给所有用户增加执行权限,让jar包可执行[root@VM-24-5-centos UserSphere-backend]# chmod a+x UserSphere-backend-0.0.1-SNAPSHOT.jar 
#以生产模式运行[root@VM-24-5-centos UserSphere-backend]# java -jar UserSphere-backend-0.0.1-SNAPSHOT.jar --spring.profiles.active=prod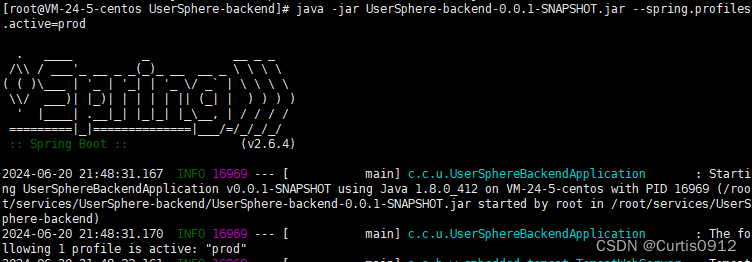
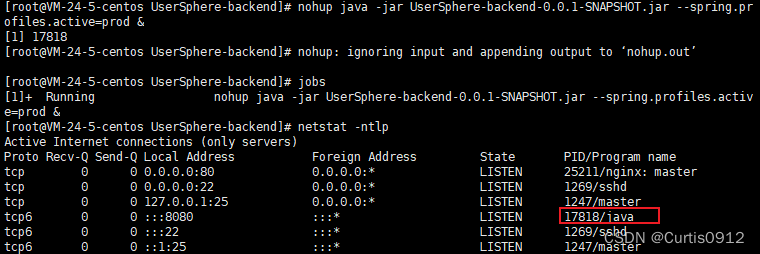
#以后台形式运行[root@VM-24-5-centos UserSphere-backend]# nohup java -jar UserSphere-backend-0.0.1-SNAPSHOT.jar --spring.profiles.active=prod &#查看执行[root@VM-24-5-centos UserSphere-backend]# jobs[root@VM-24-5-centos UserSphere-backend]# netstat -ntlp