更多精彩内容尽在 dt.sim3d.cn ,关注公众号【sky的数孪技术】,技术交流、源码下载请添加VX:digital_twin123
对于一直关注 Three.js 的最新发展的人来说,经常会发现陷入了 WebGPURenderer 的未知领域,因为直到现在也没有一些官方的思维导图。事实上,虽然 Three.js 的 WebGPURenderer 能够满足大多数项目要求,但在技术上仍处于未完成的状态,许多其他功能仍处于不断改进、重新开发的过程中。
但是,我相信,当完整功能集上线时,新的渲染范例就会证明自己比以前版本的 Three.js API 更直观、更通用。接下来,我们将通过使用节点在盒子网格表面上创建片段着色器来开始我们的 WebGPURenderer 之旅。
项目设置
我们的初始网页设置与官方 Three.js 示例非常相似,在本教程中,我们将首先使用 Vite 作为构建工具创建一个项目。
npm init -ynpm install vitenpm install threenpm install --save-dev vite-plugin-top-level-await我们项目的 package.json 文件如下:
// package.json{ "name": "01_tsl_basics", "type": "module", "main": "index.js", "scripts": { "dev": "vite", "build": "vite build" }, "dependencies": { // 确保 three 版本最低 "^0.167.0" "three": "^0.166.1", "vite": "^5.3.3" }, "devDependencies": { "vite-plugin-top-level-await": "^1.4.1" }}在 package.json 中,我们的 Vite 项目要求我们为顶级 await 语句应用一个插件。 WebGPURenderer 使用顶级 await 语句来查询计算机上与 WebGPU 兼容的图形资源。因此,这个插件对于我们的代码正常运行是必需的。如下所示,我们还将使用配置文件来定义 Vite 的导入映射,指定我们只想从 Three.js 的 WebGPU 构建文件导入。
// vite.config.jsimport { defineConfig } from "vite";import topLevelAwait from "vite-plugin-top-level-await";export default defineConfig ({ // For issues with the Three.js WebGPU build, refer to this link: // https://github.com/mrdoob/three.js/pull/28650#issuecomment-2198568721 resolve: { alias: { 'three/addons': 'three/examples/jsm', 'three/tsl': 'three/webgpu', 'three': 'three/webgpu' } }, // Apply the top-level await plugin to our vite.config.js plugins:[ topLevelAwait({ promiseExportName: "__tla", promiseImportName: i => `__tla_${i}` }) ], });编写配置后,我们可以开始向项目添加代码,从我们的 index.html 和 main.css 文件开始。 main.css 文件是直接从 Three.js 示例目录中复制的,而 index.html 文件则粘贴在下面。
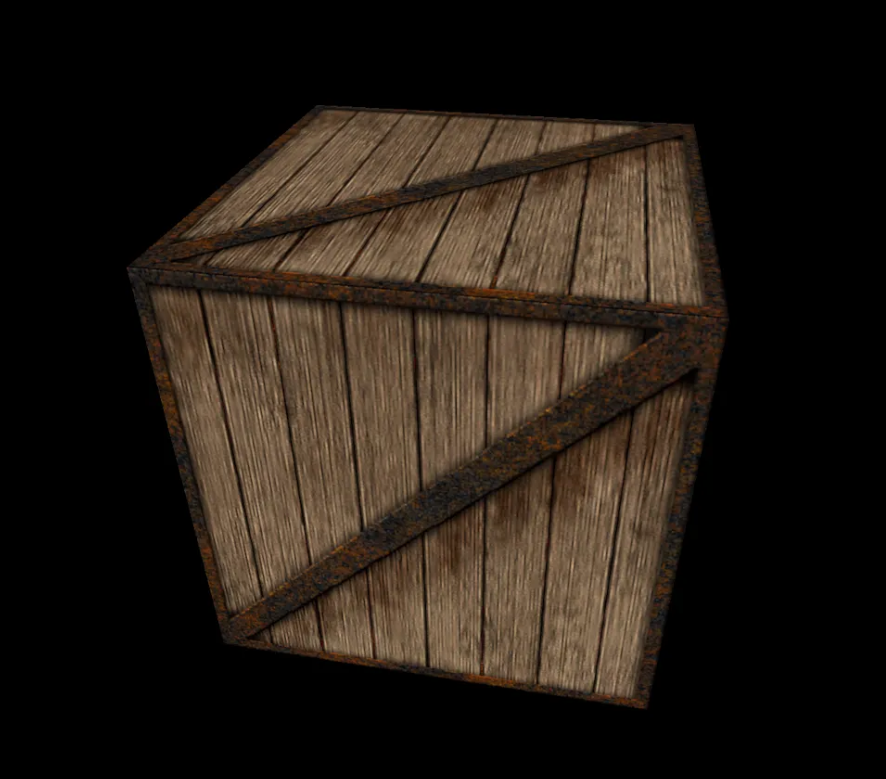
<!-- index.html --><!DOCTYPE html><html lang="en"> <head> <title>three.js TSL Tutorial Part 1 </title> <meta charset="utf-8"> <meta name="viewport" content="width=device-width, user-scalable=no, minimum-scale=1.0, maximum-scale=1.0"> <link type="text/css" rel="stylesheet" href="main.css"> </head> <body> <script type="module" src="./script.js"></script> </body></html>样式和页面布局就位后,使用 script.js 文件初始化 Three.js 项目。最初的 Javascript 文件是 Three.js 网站上的几何立方体示例的修改版本,尽管我们在其中部署了 OrbitControls 插件来操作相机,并且用 WebGPURenderer 替换了现有的渲染器。在下面看到的起始文件中,程序只是创建一个包含静态立方体网格的场景,其材质下载后,可以将其放入项目根目录下的“textures”文件夹中,然后通过 Three.TextureLoader 导入到 Javascript 中。
// script.jsimport * as THREE from 'three';import { OrbitControls } from 'three/examples/jsm/Addons.js';import GUI from 'three/examples/jsm/libs/lil-gui.module.min.js';let camera, scene, renderer;let mesh;function init() { // Create a PerspectiveCamera with an FOV of 70. camera = new THREE.PerspectiveCamera( 70, window.innerWidth / window.innerHeight, 0.1, 100 ); // Set the camera back so it's position does not intersect with the center of the cube mesh camera.position.z = 2; scene = new THREE.Scene(); // Access texture via the relative path to the texture's file. const texture = new THREE.TextureLoader().load( 'textures/crate.gif' ); // Bring the texture into the correct color space. // Removing this line will make the texture seem desaturated or washed out. texture.colorSpace = THREE.SRGBColorSpace; // Apply a texture map to the material. const material = new THREE.MeshBasicMaterial( { map: texture } ); // Define the geometry of our mesh. const geometry = new THREE.BoxGeometry(1, 1, 1); // Create a mesh with the specified geometry and material mesh = new THREE.Mesh( geometry, material ); scene.add( mesh ); // Rotate the mesh slightly mesh.rotation.y += Math.PI / 4; // Create a renderer and set it's animation loop. renderer = new THREE.WebGPURenderer({ antialias: false }) // Set the renderer's pixel ratio. renderer.setPixelRatio( window.devicePixelRatio ); // Set size of the renderer to cover the full size of the window. renderer.setSize( window.innerWidth, window.innerHeight ); // Tell renderer to run the 'animate' function per frame. renderer.setAnimationLoop( animate ); document.body.appendChild( renderer.domElement ); const controls = new OrbitControls( camera, renderer.domElement ); // Distance is defined as distance away from origin in the z-direction. controls.minDistance = 1; controls.maxDistance = 20; // Define the application's behavior upon window resize. window.addEventListener( 'resize', onWindowResize );}function onWindowResize() { // Update the camera's aspect ratio and the renderer's size to reflect // the new screen dimensions upon a browser window resize. camera.aspect = window.innerWidth / window.innerHeight; camera.updateProjectionMatrix(); renderer.setSize( window.innerWidth, window.innerHeight );}function animate() { // Render one frame renderer.render( scene, camera );}init();
片段节点
通常,节点是内联或在 TSL 代码块内写入和修改的。 TSL 代表 threejs 的着色语言,这是一种中间着色器格式,可将 Three.js 节点转换为 WGSL 或 GLSL 代码,具体取决于后端是 WebGPU 还是 WebGL 。
当我们使用 WebGPURenderer 创建的时候,如果渲染器检测到设备不支持 WebGPU,它将自动回退到 WebGL,确保使用 WebGPU 构建的项目仍然可以在更广泛的设备上运行。 TSL 不仅仅是一个简单的兼容层,它还抽象了部署着色器所需的大部分设置和语法。因此,除非你需要使用节点系统尚不支持的特定功能,否则建议使用 TSL 来在 Three.js 中编写着色器。
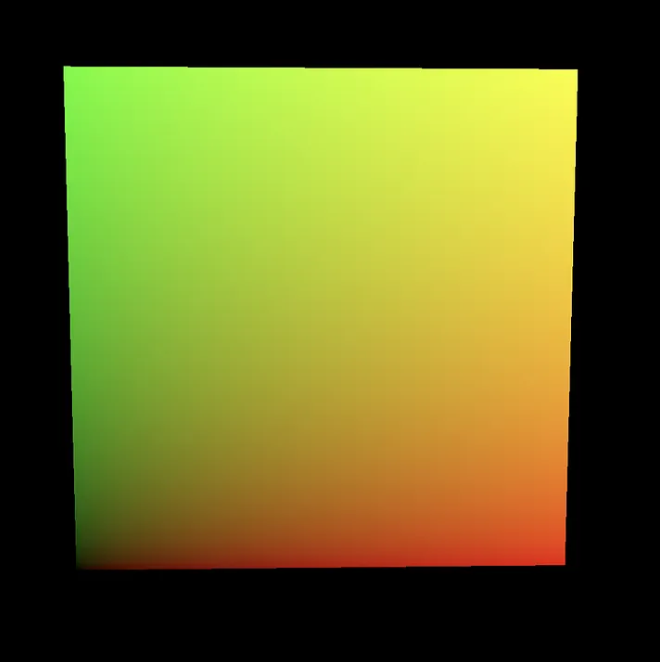
那么我们如何在 TSL 中编写着色器呢?让我们从最简单的着色器开始,一个将纹理 UV 输出到网格表面的片段着色器。要使用 TSL 着色器修改网格的材质,我们需要将其从 MeshBasicMaterial 更改为 MeshBasicNodeMaterial。MeshBasicNodeMaterial 只是其同名类提供的功能集的扩展,允许通过节点而不是传统方式定义其属性。因此,此更改不会改变场景的视觉输出。
// Old version: // const material = new THREE.MeshBasicMaterial( { map: texture } );// New version: const material = new THREE.MeshBasicNodeMaterial( { map: texture } );使用这种新的材质类型,我们可以通过修改 NodeMaterial 的 fragmentNode 属性来操作网格材质输出的片段值。首先,从“three/tsl”目录导入 uv() 函数以访问通用 UV 范围。然后,编写一个返回 uv() 值的 TSL 函数。最后,将该 TSL 函数指定为材质的fragmentNode 属性的值。通过将此函数分配给 fragmentNode,我们将函数用作材质的新片段着色器。
import { tslFn, uv } from 'three/tsl'const material = new THREE.MeshBasicNodeMaterial( { map: texture } );// TSL 代码块是在调用 tslFn() 或 Fn() 函数时创建的const returnUV = tslFn( () => { return uv();} );material.fragmentNode = returnUV();使用像这样较短的着色器,我们实际上可以简化语法并返回一个值,而无需显式函数括号。
// 原来的代码.const returnUV = Fn( () => { return uv();} );material.fragmentNode = returnUV();// 改成这样.material.fragmentNode = uv();尝试内联节点操作,使其简洁易读。
// 更好的方式material.fragmentNode = uv().distance(vec2(0.5, 0)).oneMinus().mul(3);// 基础的方式.const fragmentShaderTSL = Fn(() => { const uvNode = uv(); const uvDistance = uvNode.distance(vec2(0.5, 0)); const scaledDistance = distance.oneMinus().mul(3);})material.fragmentNode = FragmentShaderTSL();一旦我们将此函数应用于 fragmentNode,我们的网格表面将显示 0 到 1 范围内的 uv,覆盖材质现有的纹理属性。

接下来我们将板条箱纹理重新应用到材质表面,这次我们也使用fragmentNode。我们可以从‘three/tsl’导入texture()函数,它将我们现有的纹理转换为TextureNode,允许我们在片段着色器中使用它。
import { Fn, uv, texture } from 'three/tsl'// 重命名纹理,使其标识符不会与texture()函数冲突。const crateTexture = new THREE.TextureLoader().load( 'textures/crate.gif' );// 从材质构造函数中删除纹理参数const material = new THREE.MeshBasicNodeMaterial();// 读取片段着色器中的纹理值。material.fragmentNode = texture( crateTexture );从这里,我们可以对 fragmentNode 的输出应用各种修改,包括根据应用程序的运行时间动态调整纹理的位置。 Three.js 提供了四个不同的计时器节点,可以在我们的 TSL 着色器代码中用作 uniform。 timerGlobal 和 timerLocal 都表示经过的时间:timerGlobal 跟踪自应用程序启动以来的时间,而 timerLocal 跟踪自应用程序内创建计时器本身以来的时间。此外,timerDelta 保存前一帧和当前帧之间经过的时间,timerFrame 传递当前帧的 ID。出于我们的目的考虑,我们需要一个累积时间的简单变量,因此我们将使用 timerLocal。通过合并 timerLocal,我们可以抵消表面上的UV以创建滚动纹理效果。
// import { Fn, uv, texture, timerLocal, negate, vec2 } from 'three/tsl'// 即使我们将 uv 移出边界,我们的纹理也会重复crateTexture.wrapS = THREE.RepeatWrapping;crateTexture.wrapT = THREE.RepeatWrapping;// 通过提供 uv 节点作为第二个参数,我们直接指定用于从纹理采样的坐标material.fragmentNode = texture( crateTexture, uv().add( vec2( timerLocal(), negate( timerLocal() ) ) );
这肯定比我们的 静态UV 更具动态效果!然而,由于片段着色器的性质,网格的边缘定义不清晰。尽管我们的网格表面是动态的,但如果没有适当的照明,网格就缺乏维度。接下来咱们来增加一些光照,然后我们将网格体的材质从 MeshBasicNodeMaterial 转换为能对光照做出反应的材质类型。
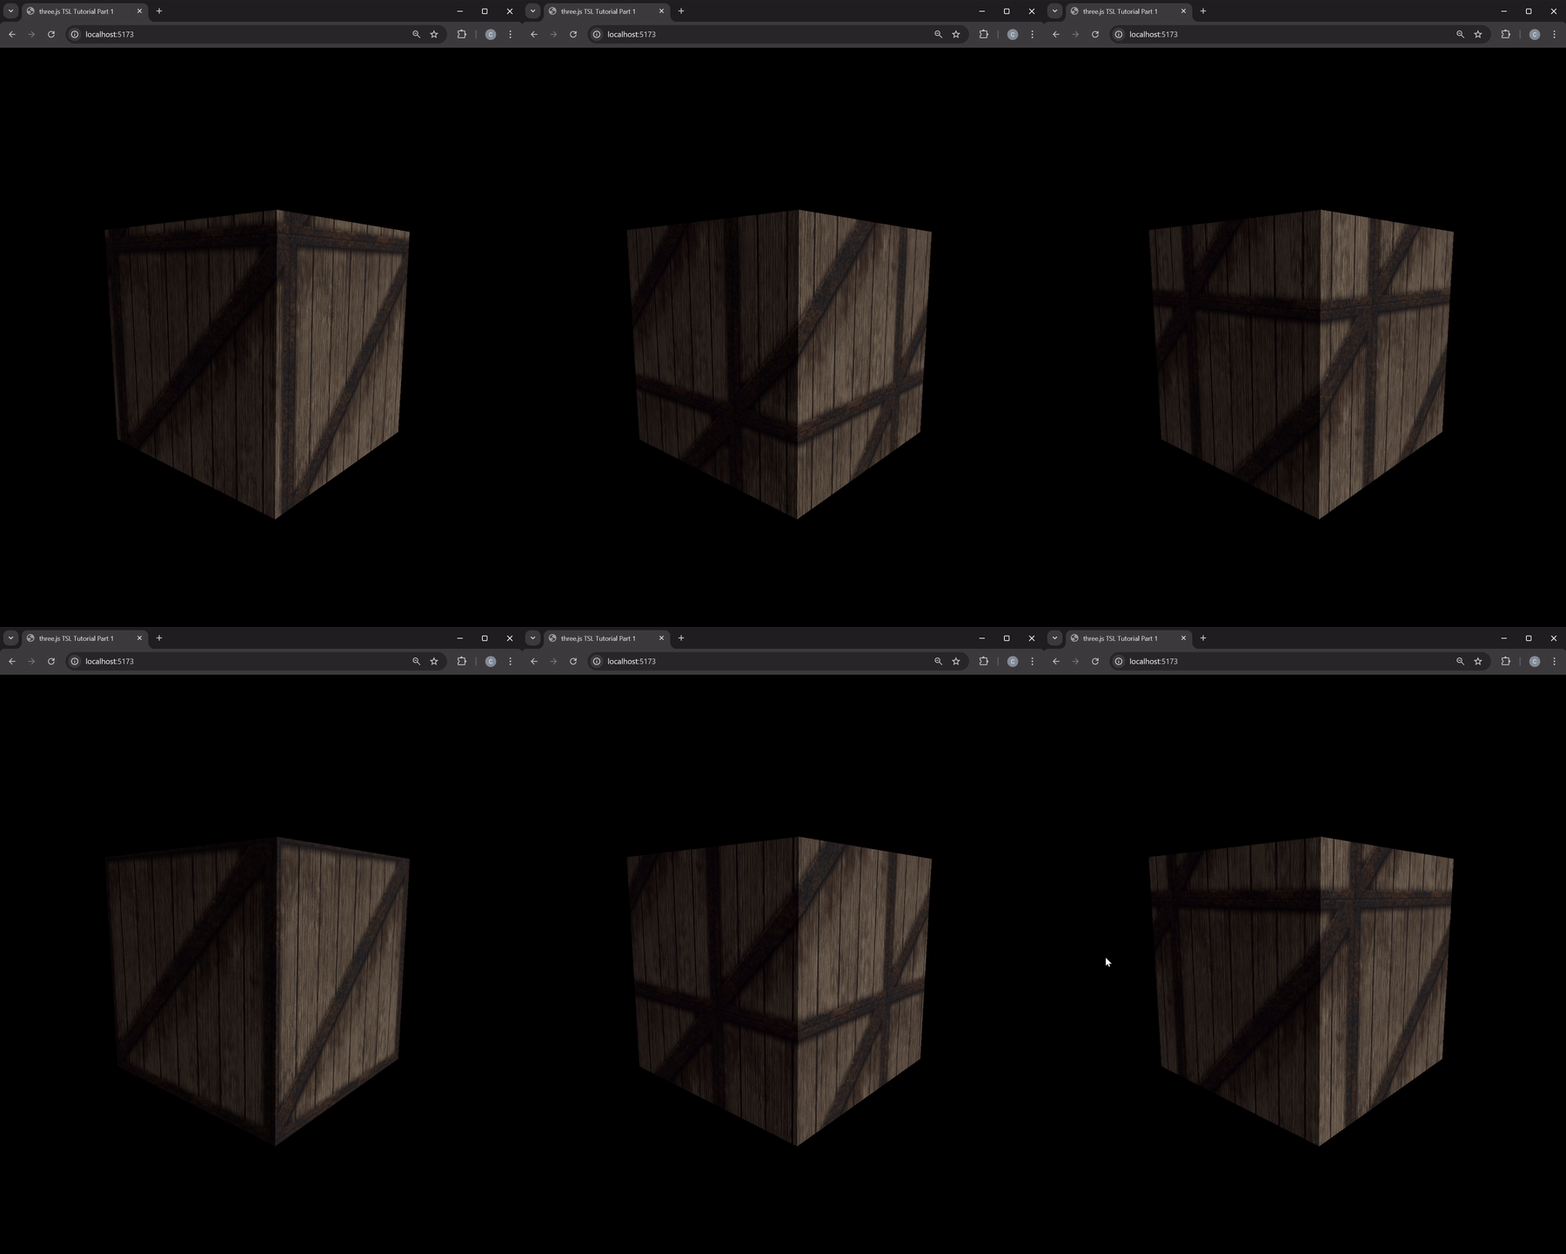
// 将关键的方向光添加到我们的场景中const directionalLight = new THREE.DirectionalLight(0xffffff, 1);directionalLight.position.set(5, 3, -7.5);scene.add(directionalLight);// 添加指向相反方向的较低强度 (0.3) 的补光const fillLight = new THREE.DirectionalLight(0xffffff, 0.3);fillLight.position.set(-5, 3, 3.5);scene.add(fillLight);// 将我们的材质从 MeshBasicNodeMaterial 转换为 MeshStandardNodeMaterialconst material = new THREE.MeshStandardNodeMaterial();当改完后,发现场景中依然没有表现出光照……,这是由于材质的 fragmentNode 的一个重要属性:在任何将着色器应用于材质的片段节点的情况下,该着色器都将完全覆盖网格的输出片段值。也就是无论我们是否设置了感光的材料,无论添加了什么要素,材质的 fragmentNode 的代码都将完全覆盖该材质的默认片段输出。
虽然材质的 fragmentNode 将忽略材质的内部着色器逻辑及其与外部元素的交互,但材质的colorNode不会。 colorNode 的作用就像听起来一样,仅修改表面输出的基色值,而不会影响场景的较大照明层次结构对基色的影响。因此,如果你希望网格正确集成到场景的现有照明设置中,只需将现有的片段着色器从fragmentNode 移动到 colorNode 即可。
// material.fragmentNode = texture( crateTexture, uv().add( vec2( timerLocal(), Tnegate( timerLocal()) ) ));material.colorNode = texture( crateTexture, uv().add( vec2( timerLocal(), negate( timerLocal()) ) ));
未完待续……