传奇开心果微博文系列
系列微博文目录Python微项目技术点案例示例系列 微博文目录一、微项目目标二、实现微项目编程思路三、初步实现目标示例代码四、添加背景色、边框、阴影效果示例代码五、添加花纹背景、装饰线条示例代码六、添加花朵、插图等示例代码
系列微博文目录
Python微项目技术点案例示例系列
微博文目录
一、微项目目标
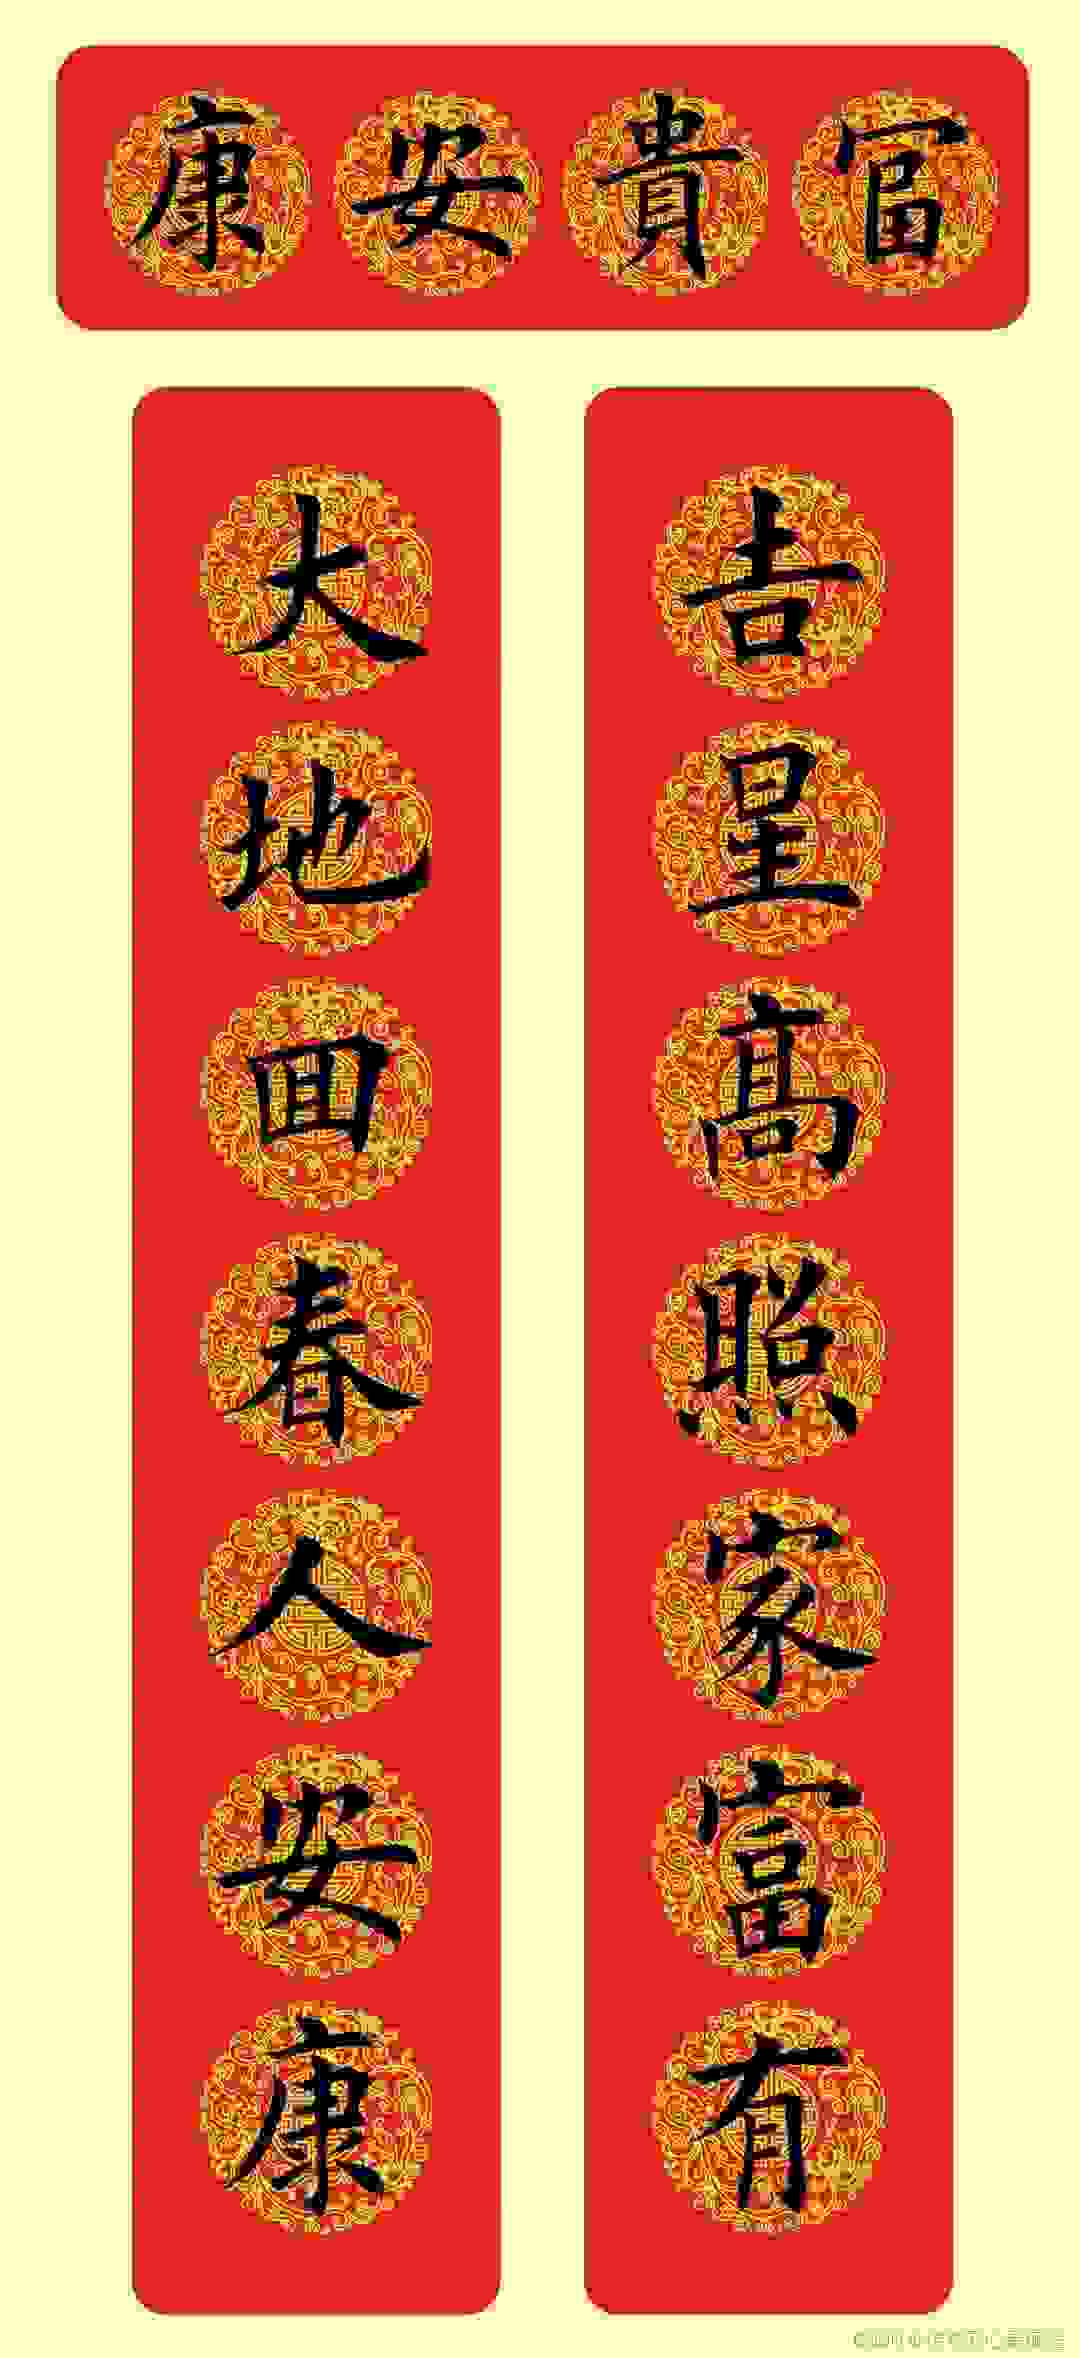
 使用Python的pillow库实现毛笔字春节对联和特殊装饰微项目示例代码
二、实现微项目编程思路
 要使用Python的Pillow库实现毛笔字春节对联小项目,可以按照以下思路进行:
准备好春节对联的文字内容:首先,确定您想要在对联上显示的文字内容。可以选择传统的春节祝福语或其他自定义的文字。
创建画布和字体:使用Pillow库创建一个空白的画布,并选择合适的字体。您可以在画布上绘制对联的文字。
绘制毛笔字:根据您选择的字体和风格,在画布上绘制毛笔字。您可以使用Pillow库的ImageDraw模块来绘制文本。
设计排版和样式:根据您的需求,设计对联的排版和样式。可以选择不同的字号、颜色、对齐方式等来美化对联。
添加背景和装饰:如果需要,可以在画布上添加背景图像或其他装饰元素,以增强对联的视觉效果。
保存对联图像:将生成的对联图像保存为文件,方便后续使用和分享。
三、初步实现目标示例代码
 下面是一个简单的示例代码,演示了如何使用Pillow库实现毛笔字春节对联小项目:
from PIL import Image, ImageDraw, ImageFont# 创建画布canvas_width = 800canvas_height = 400canvas = Image.new('RGB', (canvas_width, canvas_height), (255, 255, 255))draw = ImageDraw.Draw(canvas)# 加载字体font_size = 60font = ImageFont.truetype('path_to_your_font_file.ttf', font_size)# 设置文字内容text1 = "春节对联上联"text2 = "春节对联下联"# 绘制上联文字text1_width, text1_height = draw.textsize(text1, font=font)text1_x = (canvas_width - text1_width) // 2text1_y = (canvas_height - text1_height) // 4draw.text((text1_x, text1_y), text1, font=font, fill=(0, 0, 0))# 绘制下联文字text2_width, text2_height = draw.textsize(text2, font=font)text2_x = (canvas_width - text2_width) // 2text2_y = (canvas_height - text2_height) * 3 // 4draw.text((text2_x, text2_y), text2, font=font, fill=(0, 0, 0))# 添加背景或装饰# 保存对联图像canvas.save('chunlian.png')请注意,以上代码仅为示例,您需要根据实际需求进行调整和扩展。还可以进一步优化和美化对联的样式,例如添加边框、阴影效果、特殊装饰等。
四、添加背景色、边框、阴影效果示例代码
 要添加边框、阴影和特殊装饰等效果,您可以在绘制对联文字之前或之后进行相应的操作。下面是一个更新的示例代码,演示了如何使用Pillow库实现这些效果:
from PIL import Image, ImageDraw, ImageFont, ImageFilter# 创建画布canvas_width = 800canvas_height = 400canvas = Image.new('RGB', (canvas_width, canvas_height), (255, 255, 255))draw = ImageDraw.Draw(canvas)# 加载字体font_size = 60?font = ImageFont.truetype('path_to_your_font_file.ttf', font_size)# 设置文字内容text1 = "春节对联上联"text2 = "春节对联下联"# 添加背景色background_color = (255, 255, 200)canvas.paste(background_color, [0, 0, canvas_width, canvas_height])# 添加边框border_color = (0, 0, 0)border_width = 5draw.rectangle([(0, 0), (canvas_width - 1, canvas_height - 1)], outline=border_color, width=border_width)# 绘制上联文字text1_width, text1_height = draw.textsize(text1, font=font)text1_x = (canvas_width - text1_width) // 2text1_y = (canvas_height - text1_height) // 4draw.text((text1_x, text1_y), text1, font=font, fill=(0, 0, 0))# 绘制下联文字text2_width, text2_height = draw.textsize(text2, font=font)text2_x = (canvas_width - text2_width) // 2text2_y = (canvas_height - text2_height) * 3 // 4draw.text((text2_x, text2_y), text2, font=font, fill=(0, 0, 0))# 添加阴影效果shadow_color = (128, 128, 128, 128)shadow_offset = 5shadow_mask = Image.new('RGBA', (canvas_width, canvas_height))shadow_draw = ImageDraw.Draw(shadow_mask)shadow_draw.text((text1_x + shadow_offset, text1_y + shadow_offset), text1, font=font, fill=shadow_color)shadow_draw.text((text2_x + shadow_offset, text2_y + shadow_offset), text2, font=font, fill=shadow_color)canvas.paste(shadow_mask, (0, 0), mask=shadow_mask)# 添加特殊装饰# ...# 保存对联图像canvas.save('chunlian.png')在这个示例代码中,我们添加了背景色、边框、阴影效果。您可以根据需要自定义颜色、宽度和其他参数。如果您想要添加其他特殊装饰,可以在注释的部分进行相应的操作。
五、添加花纹背景、装饰线条示例代码
 以下是一个示例代码,演示了如何使用Pillow库添加特殊装饰效果,例如花纹背景和装饰线条:
from PIL import Image, ImageDraw, ImageFont# 创建画布canvas_width = 800canvas_height = 400canvas = Image.new('RGB', (canvas_width, canvas_height), (255, 255, 255))draw = ImageDraw.Draw(canvas)# 加载字体font_size = 60font = ImageFont.truetype('path_to_your_font_file.ttf', font_size)# 设置文字内容text1 = "春节对联上联"text2 = "春节对联下联"# 添加花纹背景pattern = Image.open('path_to_your_pattern_image.png')pattern = pattern.resize((canvas_width, canvas_height))canvas.paste(pattern, (0, 0))# 绘制装饰线条line_color = (255, 0, 0)line_width = 3line_y = canvas_height // 2draw.line([(0, line_y), (canvas_width, line_y)], fill=line_color, width=line_width)# 绘制上联文字text1_width, text1_height = draw.textsize(text1, font=font)text1_x = (canvas_width - text1_width) // 2text1_y = (canvas_height - text1_height) // 4draw.text((text1_x, text1_y), text1, font=font, fill=(0, 0, 0))# 绘制下联文字text2_width, text2_height = draw.textsize(text2, font=font)text2_x = (canvas_width - text2_width) // 2text2_y = (canvas_height - text2_height) * 3 // 4draw.text((text2_x, text2_y), text2, font=font, fill=(0, 0, 0))# 保存对联图像canvas.save('chunlian.png')在这个示例代码中,我们添加了花纹背景和一条装饰线条。您可以根据需要自定义背景图案、线条颜色、宽度和其他参数。如果您想要添加其他特殊装饰,例如花朵、插图等,可以在合适的位置进行相应的操作。
六、添加花朵、插图等示例代码
 以下是一个示例代码,演示了如何使用Pillow库添加花朵和插图等特殊饰效果:
from PIL import Image, ImageDraw, ImageFont# 创建画布canvas_width = 800canvas_height = 400canvas = Image.new('RGB', (canvas_width, canvas_height), (255, 255, 255))draw = ImageDraw.Draw(canvas)# 加载字体font_size = 60font = ImageFont.truetype('path_to_your_font_file.ttf', font_size)# 设置文字内容text1 = "春节对联上联"text2 = "春节对联下联"# 添加花朵装饰flower = Image.open('path_to_your_flower_image.png')flower = flower.resize((100, 100))flower_x = 50flower_y = (canvas_height - flower.height) // 2canvas.paste(flower, (flower_x, flower_y))# 添加插图装饰illustration = Image.open('path_to_your_illustration_image.png')illustration = illustration.resize((200, 200))illustration_x = canvas_width - illustration.width - 50illustration_y = (canvas_height - illustration.height) // 2canvas.paste(illustration, (illustration_x, illustration_y))# 绘制上联文字text1_width, text1_height = draw.textsize(text1, font=font)text1_x = (canvas_width - text1_width) // 2text1_y = (canvas_height - text1_height) // 4draw.text((text1_x, text1_y), text1, font=font, fill=(0, 0, 0))# 绘制下联文字text2_width, text2_height = draw.textsize(text2, font=font)text2_x = (canvas_width - text2_width) // 2text2_y = (canvas_height - text2_height) * 3 // 4draw.text((text2_x, text2_y), text2, font=font, fill=(0, 0, 0))# 保存对联图像canvas.save('chunlian.png') 在这个示例代码中,我们添加了花朵和插图两种装饰效果。您可以根据需要自定义花朵和插图的位置、大小和其他参数,以及选择合适的花朵和插图图片。如果您想要添加其他特殊装饰,可以在合适的位置进行相应的操作。希望这个示例代码能帮助您实现您想要的特殊装饰效果!