教程3 Vue3条件渲染指令(v-if、v-else、v-else-if、v-show、v-for)
一、新建项目
1、使用Vite创建Vue Typescript 项目(conditional-rendering )
npm create vite@latest 2、文件结构
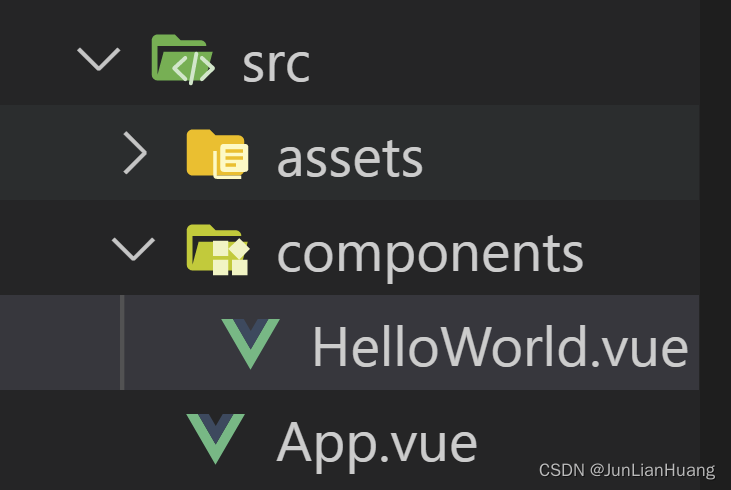
3、运行
cd conditional-renderingnpm installnpm run dev二、条件渲染指令
1、v-if
v-if 指令用于条件性地渲染一块内容。这块内容只会在指令的表达式返回真值时才被渲染。
2、v-else
可以使用 v-else 为 v-if 添加一个“else 区块”。
3、v-else-if
v-else-if 提供的是相应于 v-if 的“else if 区块”。它可以连续多次重复使用。
4、v-show
可以用来按条件显示一个元素的指令是 v-show。
5、v-for
三、案例
1、案例 显示当前库存状态
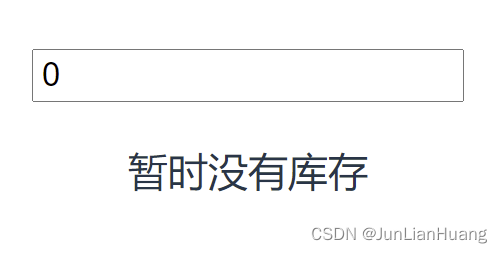
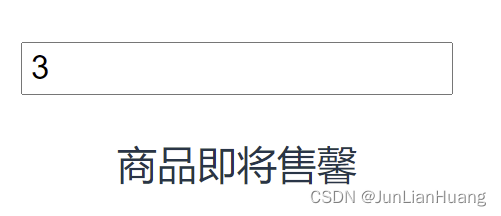
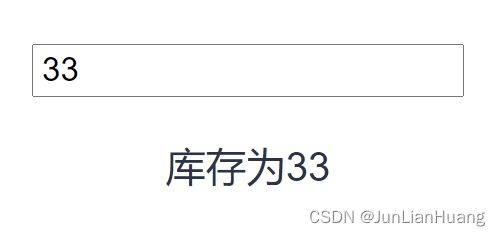
v-if、v-else、v-else-if他们是把多余的dom节点去除(不是none),下面这个案例使用这三个指令完成。
(1)运行效果
(2)HelloWorld.vue参考源码
<template> <div id="app"> <input type="text" v-model="stock"/> <p v-if='stock > 10'>库存为{{ stock }}</p> <p v-else-if='0 < stock && stock <= 5'>商品即将售馨</p> <p v-else>暂时没有库存</p> </div></template><script setup lang="ts">import { ref } from "vue";const stock = ref(0)</script>2、案例 根据条件显示不同的template标签
既想使用一个标签包裹需要需要的标签,又不想显示包裹标签,可以使用template标签
v-if == true显示
v-if == false隐藏
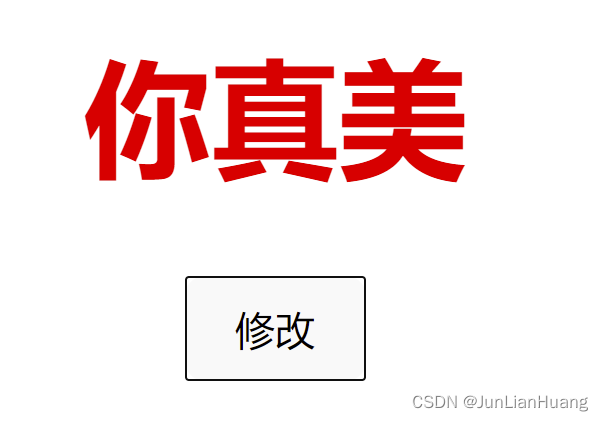
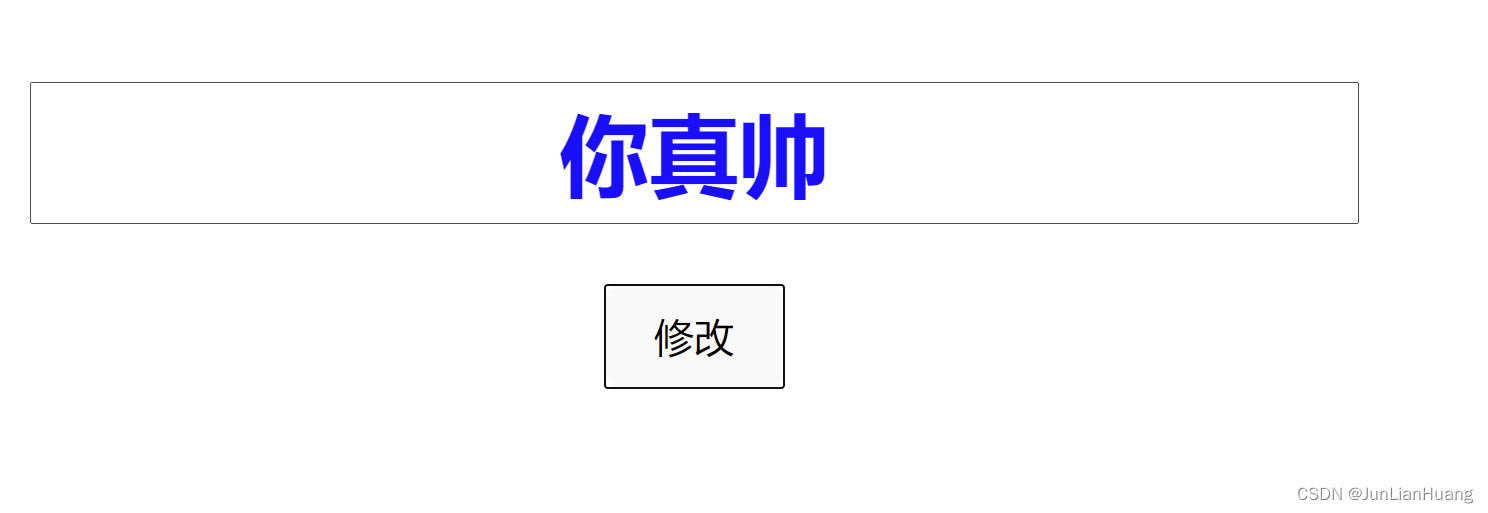
(1)案例要求:点击按钮,改变显示的template标签。
(2)运行效果
(3)参考代码
<template> <div id="app"> <template v-if="flag"> <h1 style="color:red">你真美</h1> </template> <template v-else> <input type="text" value="你真帅" style=" font-size:36px;color:blue; font-weight: 900;text-align: center;"/> <br><br> </template> <button @click="changeFlag">修改</button> </div></template> <script setup lang="ts">import { ref } from "vue";const flag = ref(true)function changeFlag() { flag.value = !flag.value}</script>3、案例 显示和隐藏dom节点
v-show == true 把dom节点显示
v-show == false 把dom节点隐藏(display:none)
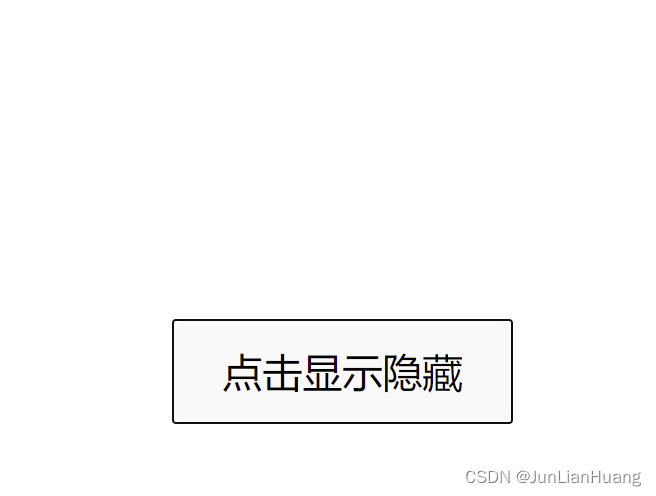
(1)案例要求:点击按钮,显示或隐藏h1标签。
(2)运行效果

(3)参考代码
<template> <div id="app"> <p v-show="isShow">我会隐身</p> <button @click="isShow = !isShow">点击显示隐藏</button> </div></template> <script setup lang="ts">import { ref, watch } from "vue"const isShow = ref(true)</script>4、案例 使用v-for显示专业列表
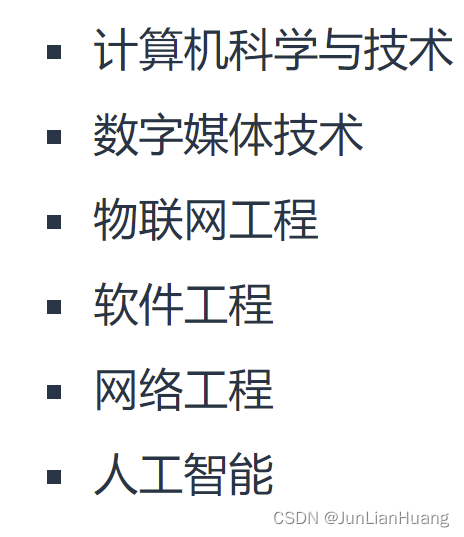
(1)运行效果
(2)参考代码
<template> <div id="app"> <ul> <li v-for='item in majors'>{{ item }}</li> </ul> </div></template> <script setup lang="ts">const majors = ['计算机科学与技术', '数字媒体技术', '物联网工程', '软件工程', '网络工程', '人工智能']</script><style>ul { list-style: none;}li { list-style-type: square; list-style-position: outside; text-align: left; font-size: large; padding: 5px;}</style>5、案例 使用v-for循环数字和字符
(1)运行效果

(2)参考代码
<template> <div id="app"> <ul> <li v-for="num in 5">{{ num }}</li> </ul> <p v-for="str in 'computer'">{{ str }}</p> </div></template> 6、案例 使用v-for显示专业列表
(1)运行效果
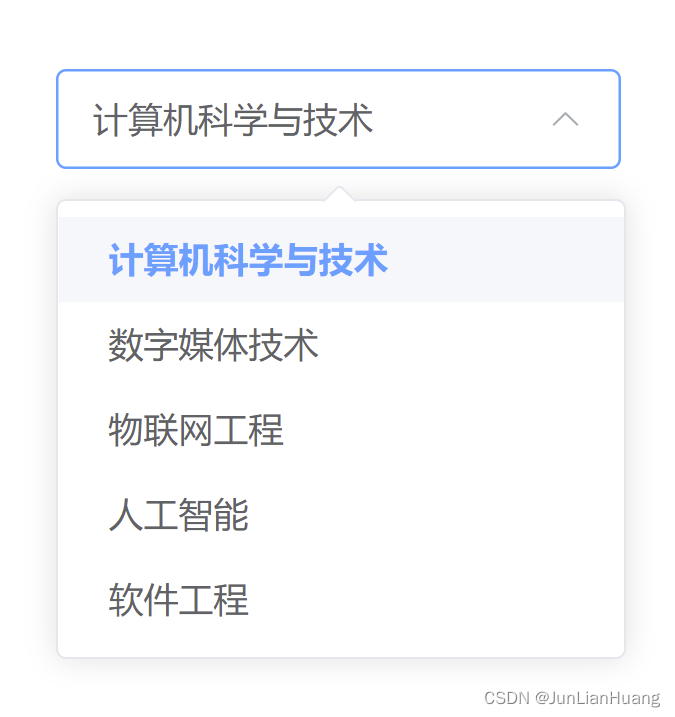
(2)参考代码
<template> <el-select v-model="value" class="m-2" placeholder="Select" size="large"> <el-option v-for="item in majors" :key="item.value" :label="item.label" :value="item.value" /> </el-select></template><script lang="ts" setup>import { ref } from 'vue'// const value = ref('')const value = ref('1')const majors = [ { value: '1', label: '计算机科学与技术', }, { value: '2', label: '数字媒体技术', }, { value: '3', label: '物联网工程', }, { value: '4', label: '人工智能', }, { value: '5', label: '软件工程', },]</script>7、案例 使用v-for完成todos案例
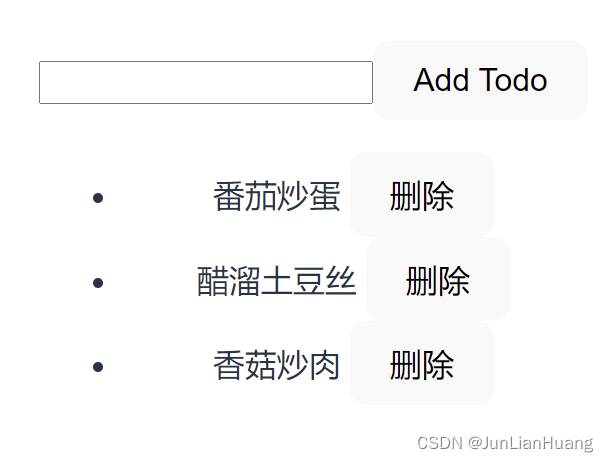
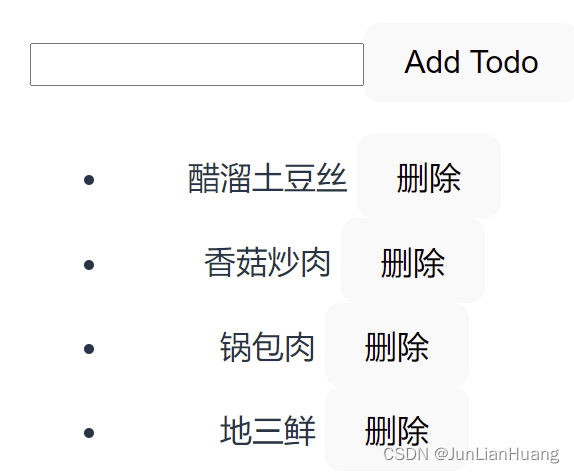
<script setup lang="ts">import { ref, reactive } from 'vue'const id = ref(0)const newTodo = ref('')// reactive作用:定义一个对象类型的响应式数据(基本数据类型用ref函数)const todos = reactive([ { id: id.value++, text: '番茄炒蛋' }, { id: id.value++, text: '醋溜土豆丝' }, { id: id.value++, text: '香菇炒肉' }])function addTodo() { todos.push({ id: id.value++, text: newTodo.value }) newTodo.value = ''}function removeTodo(index: number) { todos.splice(index, 1);}</script><template> <!-- @submit.prevent .prevent 表示提交以后不刷新页面, --> <form @submit.prevent="addTodo"> <input v-model="newTodo" /> <button>Add Todo</button> </form> <ul> <li v-for="(todo, index) in todos" :key="todo.id"> {{ todo.text }} <button @click="removeTodo(index)">删除</button> </li> </ul></template>8、案例 使用v-for表格中显示对象数组
(1)运行效果
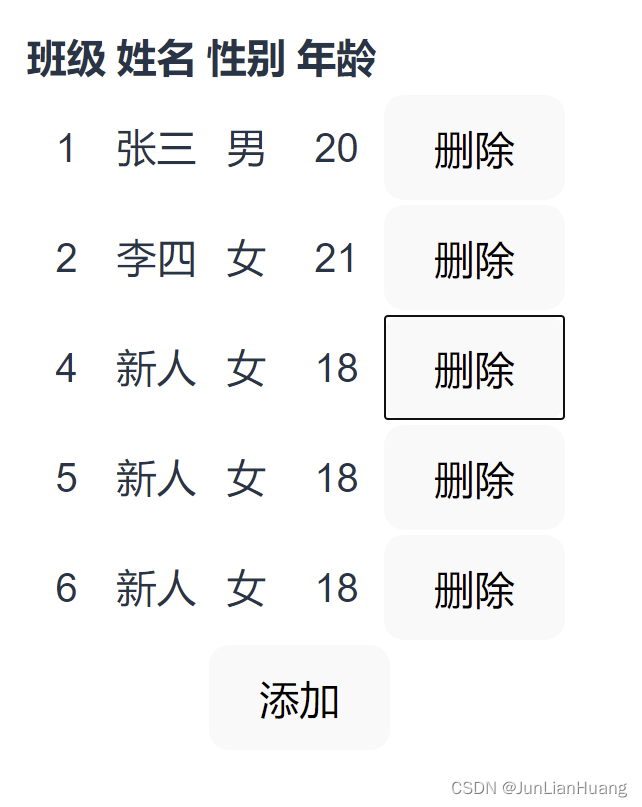
(2)参考代码
<template> <table> <tr> <th>班级</th> <th>姓名</th> <th>性别</th> <th>年龄</th> </tr> <tr v-for="(item,index ) in students" :key="index"> <td>{{ item.grade }}</td> <td>{{ item.name }}</td> <td>{{ item.gender }}</td> <td>{{ item.age }}</td> <button v-on:click="del(index)">删除</button> <td></td> </tr> </table> <button @click="add">添加</button></template><script lang="ts" setup>import { ref } from "vue";let counter = 3interface Student { grade: number name: string gender: string age: number}let students = ref<Student[]>([{ grade: 1, name: '张三', gender: '男', age: 20}, { grade: 2, name: '李四', gender: '女', age: 21}]);function add() { var student = { grade: counter++, name: '新人', gender: '女', age: 18 } students.value.push(student);}function del(index: number) { students.value.splice(index, 1);}</script>
登录后可发表评论
点击登录